I should have known this from the start, really. The haiku yarn is so saturated with color that I should have known it would bleed blue dye like it was stabbed through the heart and bleeding out the last of its royal blue arterial blood down to the last bleeding blue cell it had to give. You think I'm kidding, but I'm not. It's sitting in my bathroom, bleeding out the last of the dye. (I hope.) The needles on which I knit the sweater are noticeably darker than the rest of the set. I thought it just might be the bamboo wood darkening with use. Oh, no. I took a picture so you could see. Check out the needles, the stain was strong enough my camera could see it.

Once upon a time, those tiny little US 1.5 needles were the same color as the larger size 7's in the picture. The changing colors of my needles should have told me that this was going to bleed. Being a high end yarn, I had the vague notion that the yarn wouldn't bleed, that the dye was well fixed into the fiber. I should have seen from the vibrant, saturated colors of the haiku yarn that it would. Anyways, I'm glad I decided to soak it for wet blocking. It's on bath number 3, and I will take more pictures so you can see just how much dye comes out of this yarn.
Why block?
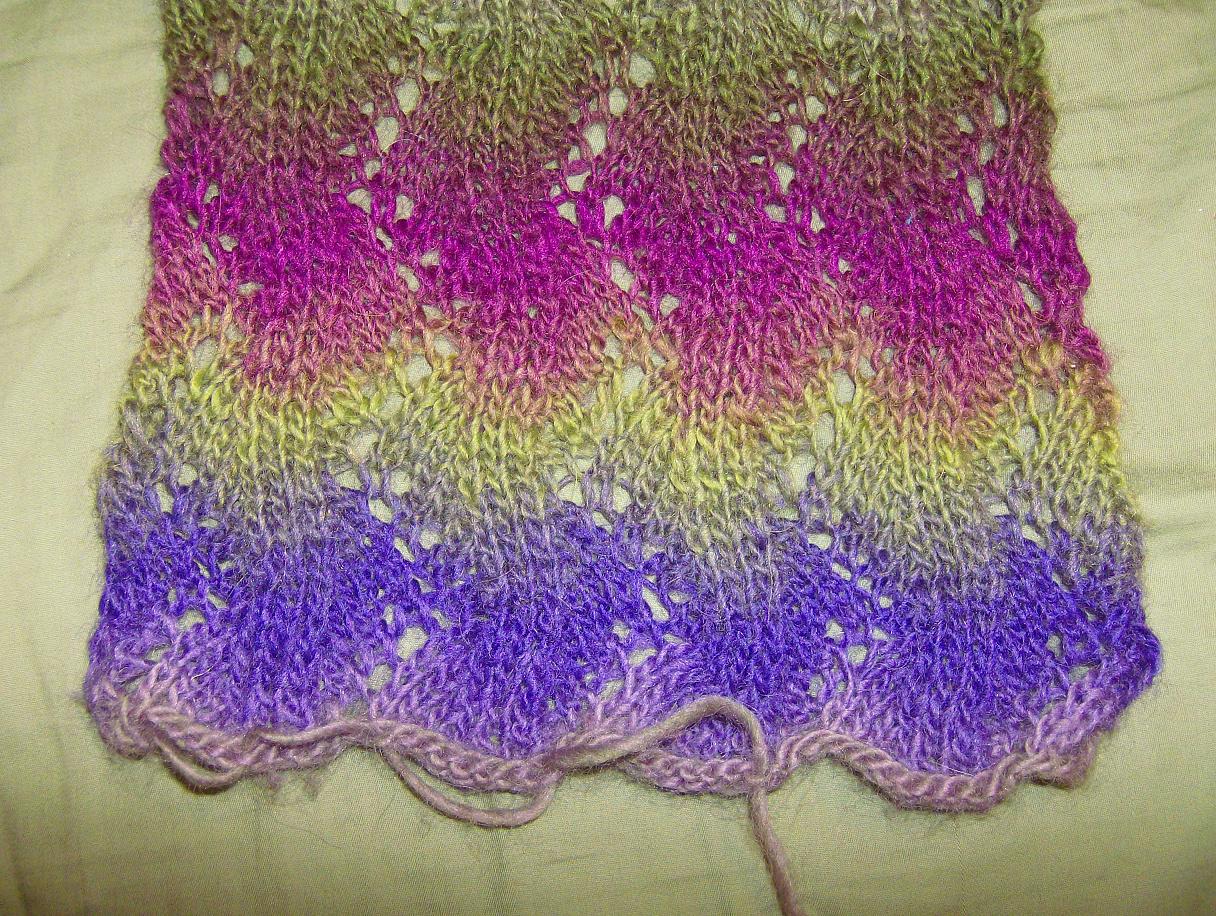
Well, blocking is a process which quite literally transforms lace knitting from something the cat chewed up to a breathtaking heirloom. I don't have any stellar examples of unblocked versus blocked lace, but I do have some photos of before and after for the lace shrug that I made. This is what the lace looked like before I blocked it. It was also maybe 10 inches in width. The final width of that section, before I sewed it together, became 12 inches in blocking. But I get ahead of myself. Here's what happens after you block it. The lace opens up, the garment takes on larger dimensions than the size it was when it came off the needle. The size to which a piece of lace will grow depends on how hard you block it.
How do you block?
There are any number of ways you can block lace. If, like me, you have a love for supersaturated and vibrant colors, then you should let the lace item soak in cool water before you attempt blocking. Trust me. If you attempt to get the lace wet, and then spread it out on a blanket, carpet, or fabric surface, you will have a unique (read - stained) dye job left behind by the lace made from your vibrant yarn. A good rule of thumb is to let it sit in cold water for 15 minutes or more, before rinsing it out. If the water comes out clear after the rinse, then it might be okay to continue on with the process of blocking. If you're not sure, then let it sit for 5 minutes. Toss out the water after that time, and see how clear it comes out. If it's reasonably clear, you probably got most of the excess dye out.
A just-so-you- know moment - this will change the color of your yarn. It won't be quite as vibrant as it was before. However, with the excess dye gone, it will no longer stain your skin smurfette blue, like my sweater would have if I did not let soak away the excess dye. Returning to my out of order process!
Perhaps the easiest way to block is to simply spread out your lace as flat as possible on a large surface. A bed, table, or even the basement floor work well. I've used all three and then some. Ironing boards work well too. Then, with a water bottle or misting spray, spray water until it evenly coats the surface of your project. The surface of the yarn should be damp to the touch, not soaked through. Then, you can gently push and pull at the yarn until it lays almost flat on the surface of the bed or table. Like a fibrous form of clay, you can push and pull the yarn gently into the shape you desire. The weight of the water will sort of weight the yarn down, preventing it from snapping back to the crinkled shape. This is soft blocking, and it's just like what you'd do when you lay a sweater out to dry. You create a shape, but you aren't forcing it into one.
Hard blocking is when you pin that sucker down to dry, and it's not moving from that shape until you pry those
You can start out with a gently dampened lace, or you can soak the sucker, it's all about personal preference at this point. The more wet your project is when you start hard blocking, the longer it will take to dry. If you fear mold or something like that getting into your yarn, run a circulating fan in the same room where the project is drying. Some people fear the project shrinking because of the air circulating around the project, but I have never had that problem. Things dry faster when you have a fan. For me, that's a lesser likelihood of the cats eating my project while it dries.
Anyways, if you've opted to do what I've done so far - aka soak the sucker until there's no more dye to bleed - you have to get it to a not-sopping-wet state for blocking. I prefer to roll my projects in a towel and then stomp all over like I was reinacting the broadway musical. This may not be the preferred method for some. Other people like to put their project in a delicates bag - that zippered mesh thing that I should use more often - and run it through the spin cycle of their empty washing machine. However you get to this point, it doesn't matter. The point is that the project is throughly and evenly dampened. Then you can lay it out on the surface and pin it into the desired shape.
A clever trick for circular shawls is to cut a piece of yarn a few inches or so longer than the desired radius of your shawl. Pin one end of the yarn down in the center of your surface. Use the other end of the yarn to "draw out" a circle - stretch it out, pin the edge of shawl in one place. Move the end of the yarn a few inches along the edge of your circle, pin another point of the circle down there. Rinse, repeat, until you've gone 360 degrees and traced out your shawl's circle with the free end of the yarn. I've never used this trick, as I have yet to make a circular shawl, but I thought it was pretty cool.
As for me, the point of all this rambling was to occupy my time as I waited for my cardigan to bleed out dyes. I want to block it, sew the front and back together, and try it on before I throw sleeves on it. I'm sort of afraid the sleeve caps won't fit, but we'll see. I'll be doing a soft block on this lace, because the pattern was written with positive ease, and I want negative ease. And yet, I didn't decrease the pattern repeats! Go figure!
Yes, this will be a launching point for lace designs in the future. More pictures of the bleeding blue monster to come, once I have wrung out the last of its blue life blood.
No comments:
Post a Comment